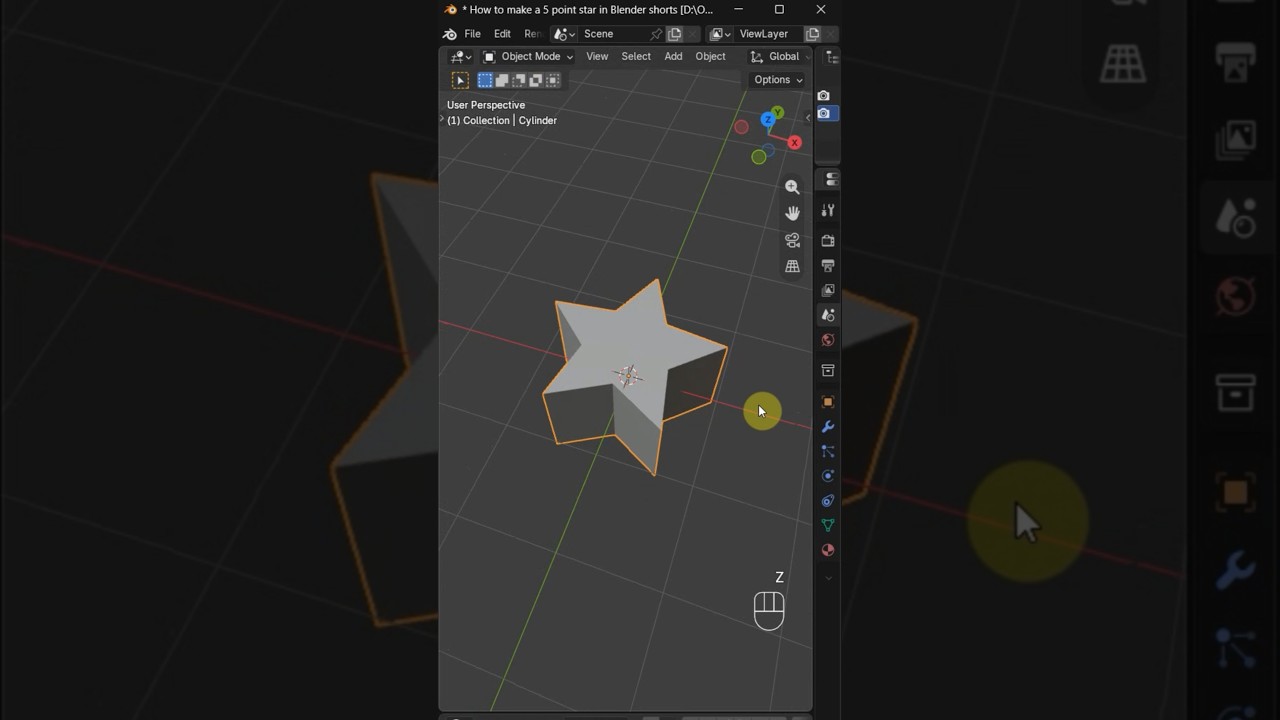
How to Create a Perfect 5-Point Star in Blender: Easy 3D Modeling Tutorial
This article provides an in-depth exploration of 3D modeling, covering foundational concepts, practical applications, and engineering insights.
Whether you are taking your first steps into digital art or looking to refine your workflow, mastering basic geometry is essential. In this quick guide, we will walk you through the simplest step-by-step process to create a clean, symmetrical 5-point star in Blender.
Learning how to manipulate primitive objects efficiently is a core skill in 3D modeling. Stars are highly versatile assets frequently used in game design, motion graphics, and environment decoration. Here is how to build one in just a few clicks.
Step 1: Add a 10-Vertex Circle
Open Blender and start with a clean workspace. Delete the default cube by selecting it and pressing X.
- Press
Shift + Ato bring up the Add menu, navigate to Mesh, and select Circle. - Before clicking anywhere else, expand the Add Circle operator panel located in the bottom-left corner of your viewport.
- Change the number of Vertices from 32 to 10. Because a 5-point star consists of 5 outer tips and 5 inner corners, 10 vertices provide the exact framework you need.
Step 2: Scale the Inner Vertices
Now that your base shape is ready, switch to Edit Mode by pressing Tab.
- Make sure you are in Vertex Select Mode (press
1on your keyboard). - Deselect everything by pressing
Alt + A. - Hold
Shiftand manually select every alternating vertex around the circle until you have 5 vertices highlighted. - Press
Sto scale the selected vertices inward toward the center. As you pull them in, your flat circle will instantly turn into a sharp 5-point star!
Step 3: Add Volume and 3D Depth
A flat star is a great start, but adding volume turns it into a functional asset ready for your 3D modeling pipeline.
- Press
Ato select all vertices. - Press
Fto fill the outline with a single face. - Press
Eto extrude the face upward along the Z-axis to give your star physical thickness. - Bonus Tip: To give your star a classic, raised center, press
Ito inset the face slightly, then select the central geometry and pull it up along the Z-axis.
Conclusion
Creating a 5-point star in Blender is fast, easy, and introduces fundamental poly-modeling techniques. Practicing simple shapes like this establishes a strong foundation for taking on more complex 3D modeling projects in the future. Try applying custom materials, bevels, or lighting to make your new 3D star pop!

No comments:
Post a Comment