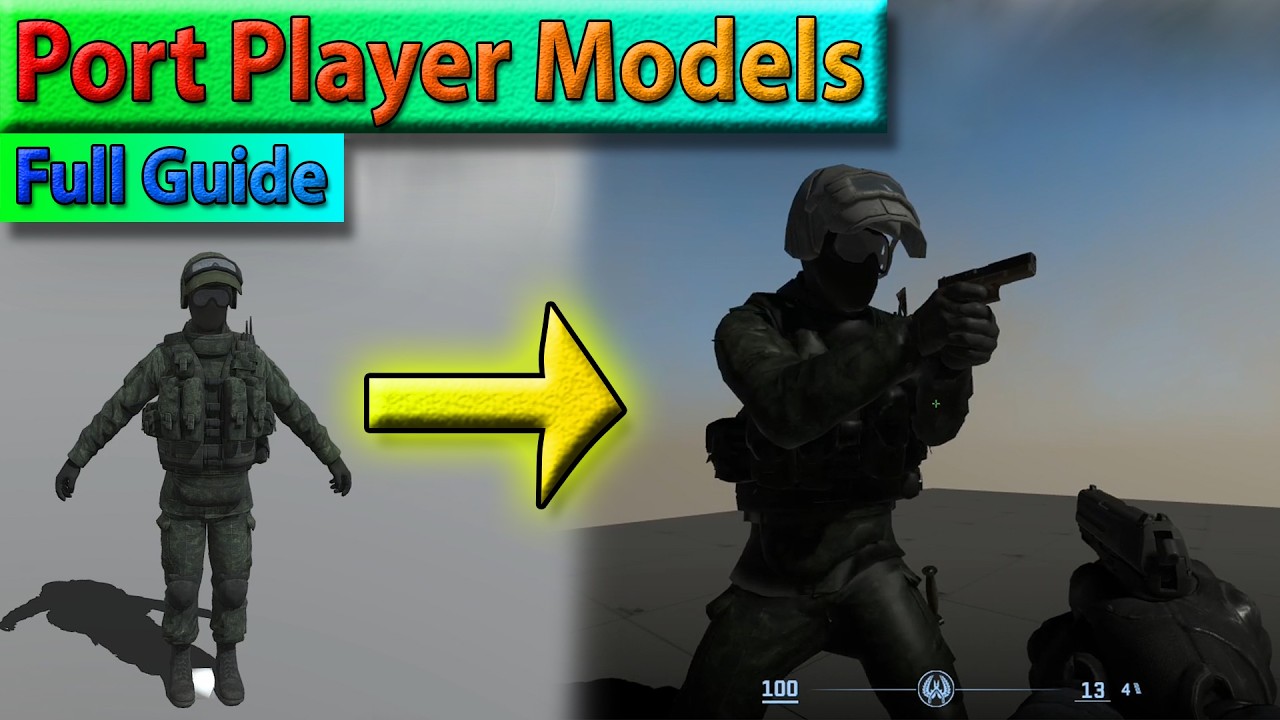
Master 3D Modeling: How to Port Custom Player Models to Counter-Strike 2
This article provides an in-depth exploration of 3D modeling, covering foundational concepts, practical applications, and engineering insights.
Counter-Strike 2 (CS2) has ushered in a new era of tactical gameplay, visually enhanced graphics, and expanded modding potential. If you have ever wanted to replace default agents with your favorite custom characters, porting custom player models is the ultimate way to personalize your game. In this beginner-friendly guide, we will break down the step-by-step process of importing custom models into CS2 using Blender and the Source 2 engine tools.
Essential Tools for Model Porting
Before diving into the porting process, you need to set up your workflow with the right software stack:
- Blender: Blender is the premier open-source software for 3D modeling, rigging, and animation.
- Blender Source Tools: A crucial addon that allows Blender to export files in formats compatible with Valve's Source engine (.smd or .dmx).
- CS2 Workshop Tools: Downloadable directly through Steam under Counter-Strike 2 properties to compile and package your custom assets.
Preparing and Rigging Your Mesh
Once your software is ready, import your chosen character model into Blender. The secret to a successful port lies in aligning your custom character mesh with the standard CS2 player skeleton.
First, scale and position your model to match the default CS2 character proportions. Next, you must transfer bone weights from the original skeleton to your custom model. Mastering 3D modeling techniques like weight painting is vital here, as poor weighting will cause awkward mesh stretching during movement and shooting animations in-game.
Compiling Assets in Source 2
After setting up the rig and materials, export your model using the Blender Source Tools plugin. Open the CS2 Workshop Tools and create a new add-on project:
- Import your exported mesh and assign the appropriate skeleton.
- Set up materials using Source 2's VMAT material editor, assigning diffuse, normal, and roughness maps.
- Compile the model and preview character animations to check for any clipping or joint distortion.
Final Thoughts
While character porting requires patience, seeing your custom creations in action makes the effort worthwhile. By combining basic software skills with fundamental 3D modeling principles, you can transform almost any character model into a fully functional CS2 player agent. Start experimenting today and bring your unique style to the battlefield!
Visual Insights & Illustrations


No comments:
Post a Comment